
Release notes are documents that we distribute to our clients, customers, etc everytime we release a new version of our product or open source project and are crucial to detail the new features, corrections and changes made on them.
As a maintainers of some Open Source projects in Xabaril we were looking for a way to automatize the creation of the release notes for some of our projects in Github and we found a great solution using some existing Actions.
Before showing you how to automatize the process, it’s important to talk about Milestones. We can use milestones in order to track the progress of our products or open source projects using issues and pull requests in our repositories.
Working with milestones
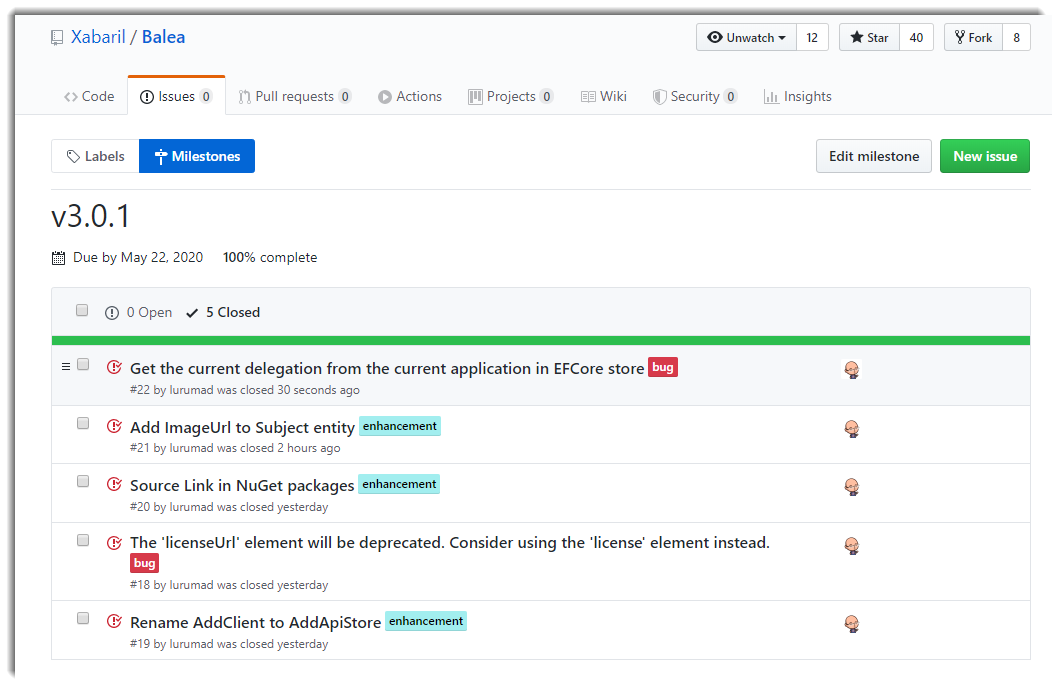
You can associate every issue and pull request with your current milestone, as you can see in the next picture:
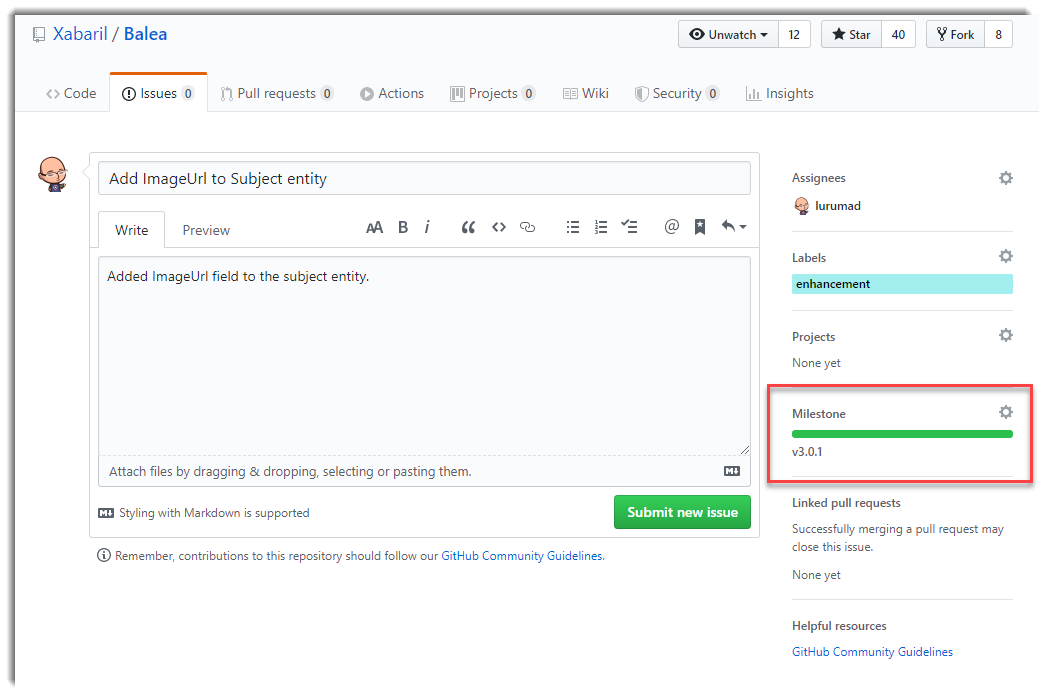
It’s important to label every issue or pull request to generate it in the correct category such us features, bugs, documentation, etc.
Using Github Actions to generate the release notes
The first Action we have to use is Release Note Generator GitHub Action. Kudos to the Decathlon Team to build such amazings Actions.
Create a new yaml file in root directory .github/workflows/release-notes.yml and copy this content:
# Trigger the workflow on milestone events
on:
  milestone:
    types: [closed]
name: Milestone Closure
jobs:
  create-release-notes:
    runs-on: ubuntu-latest
    steps:
      - uses: actions/checkout@master
      - name: Create Release Notes
        uses: docker://decathlon/release-notes-generator-action:2.0.1
        env:
          GITHUB_TOKEN: "$"
          OUTPUT_FOLDER: temp_release_notes
          USE_MILESTONE_TITLE: "true"
This action Action will create our release notes file. You have to specify a GITHUB_TOKEN, an output folder and in our case use the milestone title.
Using Github Actions to generate the wiki pages
The second Action we have to use is Wiki Page Creator GitHub Action.
- name: Upload Release Notes to Wiki
  uses: docker://decathlon/wiki-page-creator-action:latest
  env:
    ACTION_MAIL: YOUR_EMAIL
    ACTION_NAME: NAME_OF_THE_USER_WHO_PUBLISH
    GH_PAT: $
    MD_FOLDER: temp_release_notes
    OWNER: Xabaril
    REPO_NAME: balea
    SKIP_MD: README.md
We need to specify a personal access token. You can create it clicking on this link or following the next instructions:
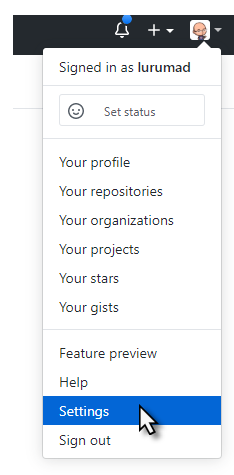
To create a personal access token go to your profile and click on Settings
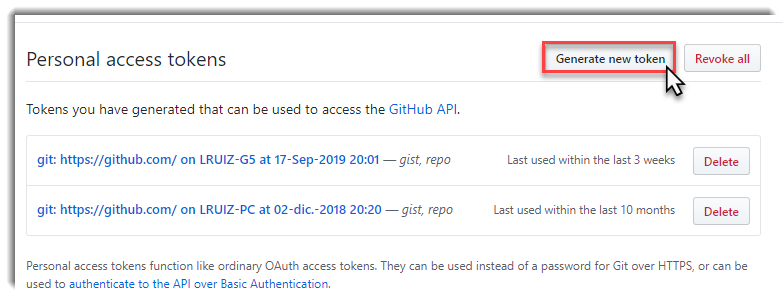
Click on Generate new token button:
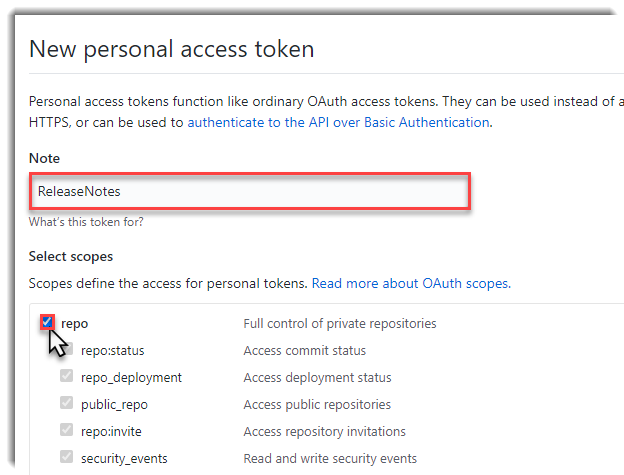
To use your token for accessing milestones/issues from the Action, select repo:
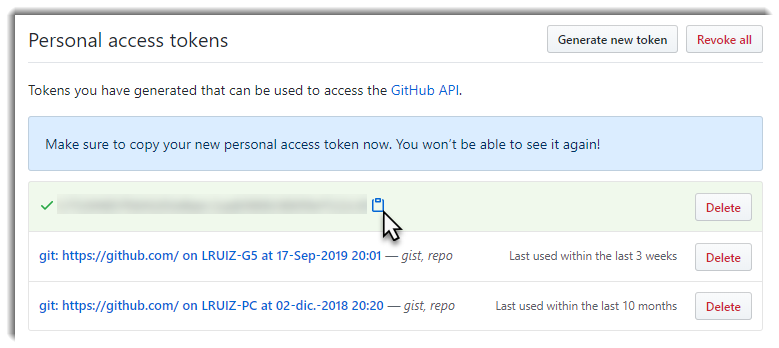
Copy the token:
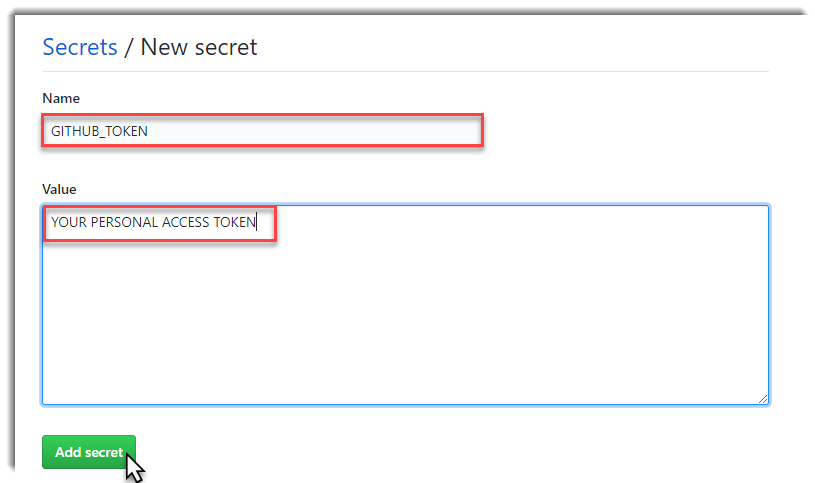
Go to your repository settings and click on Secrets and then click on New secret button:
In this link you have a full example of the workflow.
Testing our workflow
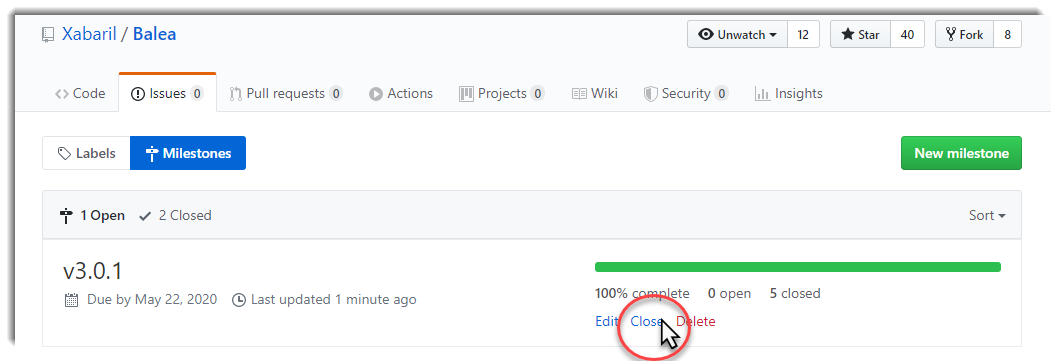
Once we have completed all the previous steps, go to your milestone for viewing a full detail of what new features, corrections and changes were made:
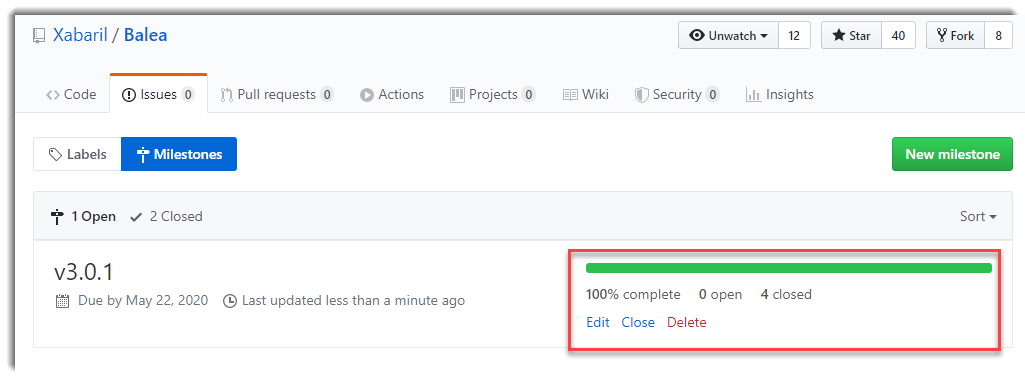
Close your milestone:
Go to the actions and check if the workflow it’s running:
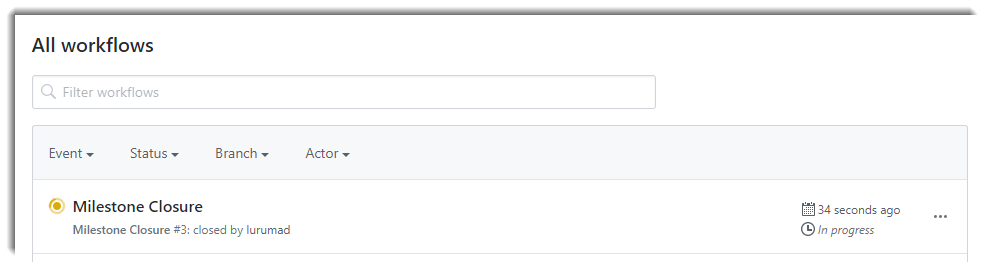
If there are not problems, the workflow should be finished ok:

Go the wiki in your repository and check it the wiki has been published correctly:
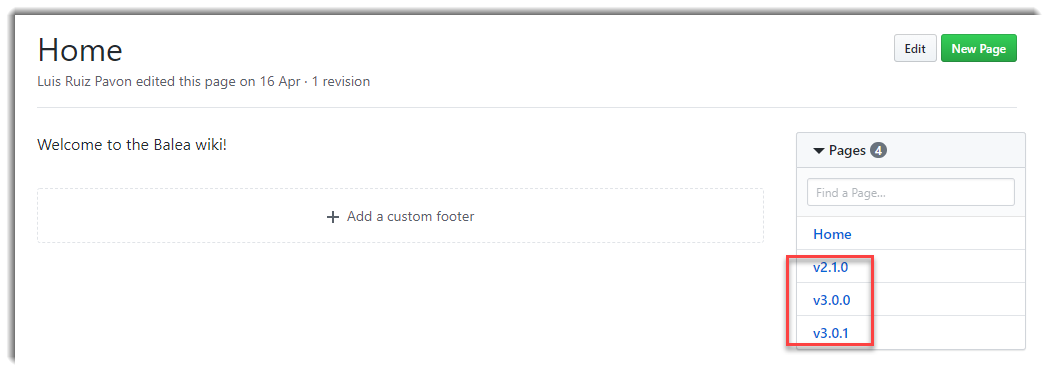
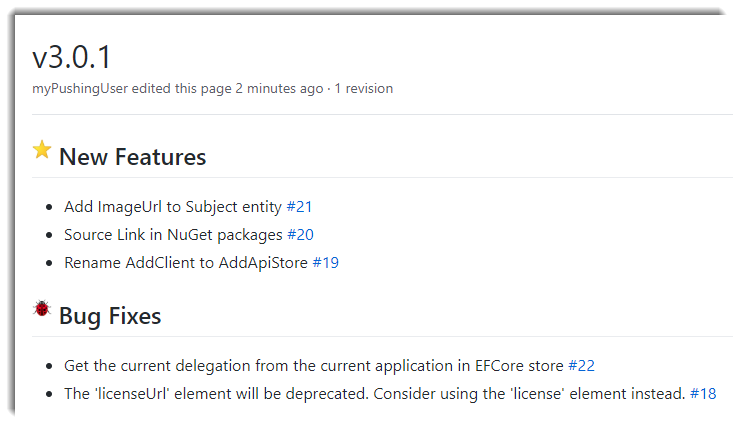
Choose the version in order to view the release notes and enjoy!
Conclusion
In this post I’ve tried to show how straightforward is to automatize the release notes of your projects using Github Actions and how you can deliver to your customers or users what new features, corrections and changes were made in a very nice visual way.


Comments